Achieving a flawless mason’s mitre laminate worktop joint requires industrial-grade routing equipment, strict millimetre precision, and robust cabinet preparation to ensure a waterproof seal.
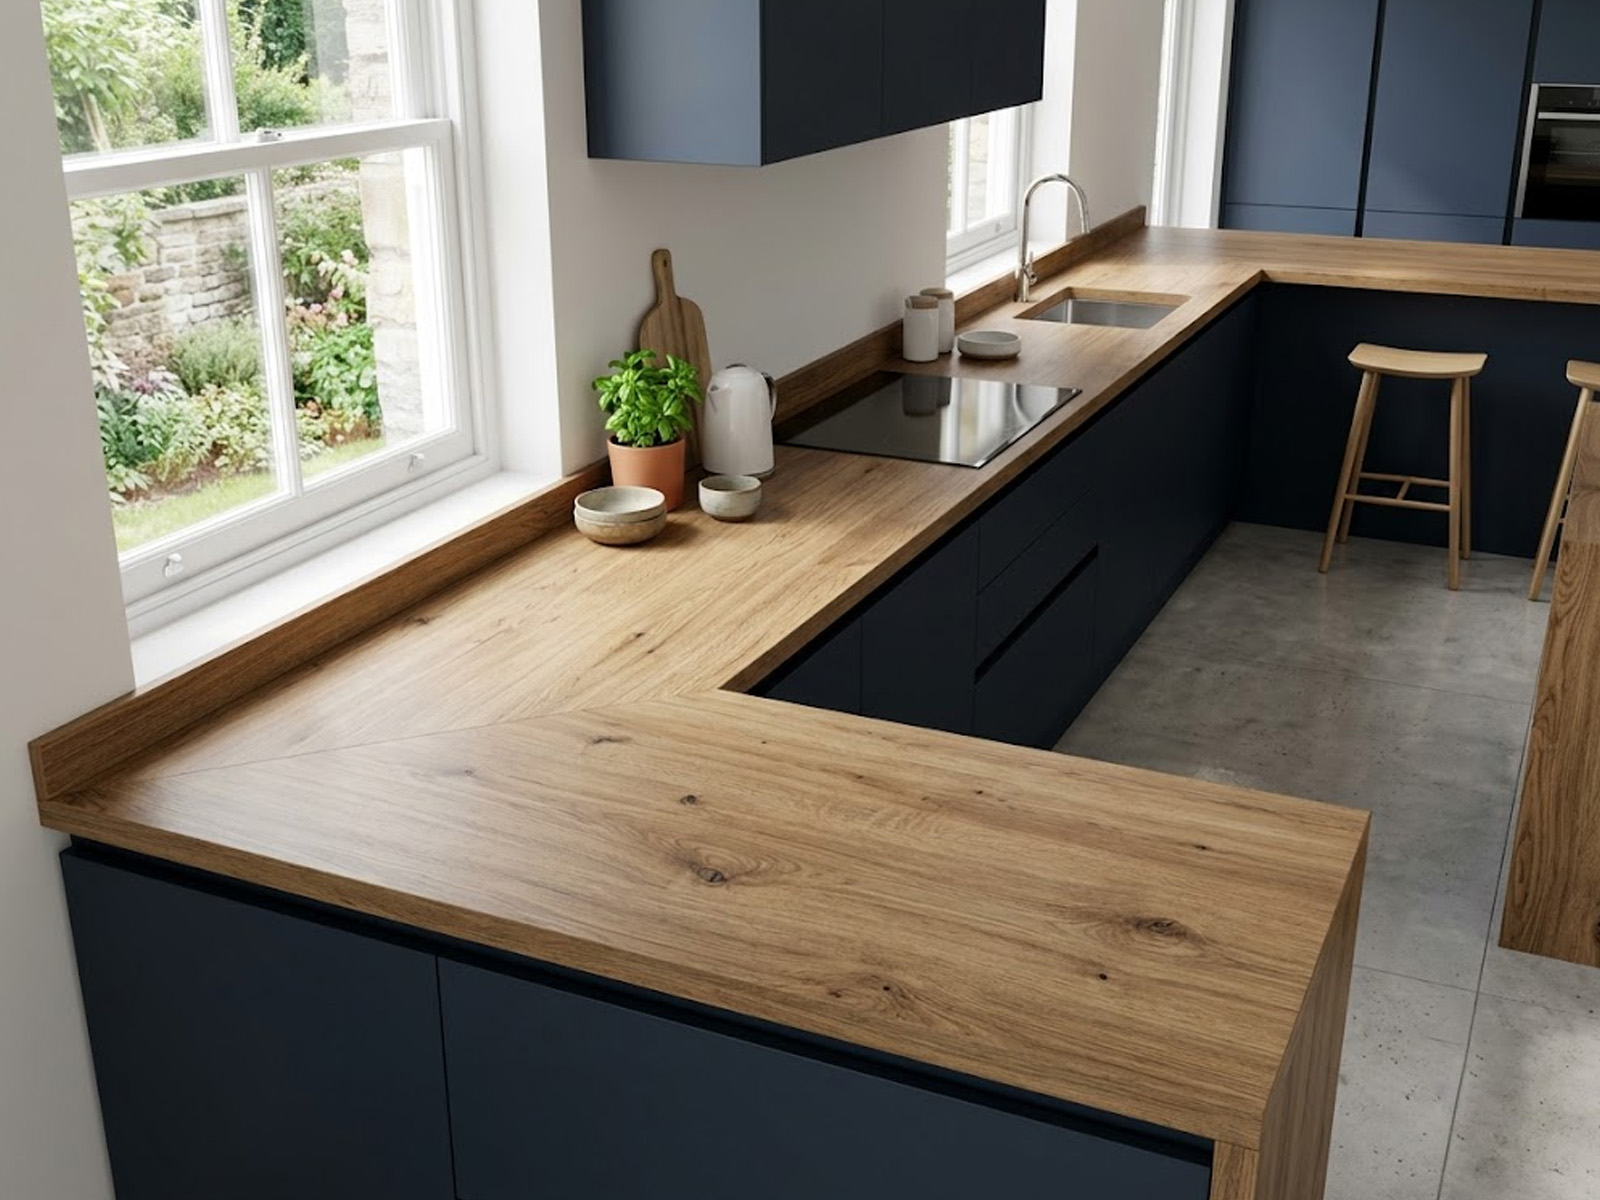
The Masons Mitre: This professional joint connects two slabs at a 90-degree angle by routing a curved male and female profile, eliminating the need for cheap metal joining strips.
Essential Tooling: You absolutely must use a high-powered ½-inch plunge router, a brand new tungsten carbide bit, and a dedicated worktop jig.
Water Ingress Risk: The primary goal of a mason’s mitre is to seal the exposed chipboard core tightly; any inaccuracy will allow moisture to swell and ruin the board.
Professional Finish: When tightened with mechanical connecting bolts and colour-matched sealant, the joint becomes practically invisible and highly durable.
Understanding the Mason’s Mitre Laminate Worktop Joint
When upgrading your kitchen, a masons mitre laminate worktop is the industry standard for creating professional, seamless corner transitions between two composite boards. As experienced fabricators managing a diverse range of high-end client projects, we utilise this specific joint daily because it provides the tightest possible mechanical seal against moisture.
Why We Avoid Metal Joining Strips
We strictly advise our clients against using aluminium joining strips, as they create a raised, unhygienic trap for grease, crumbs, and standing water. A properly routed masons mitre laminate worktop joint eliminates these unsightly metal bars, delivering a sleek, uninterrupted aesthetic that rivals premium stone.
Furthermore, metal strips do not physically pull the two boards together, leaving the vulnerable chipboard core highly susceptible to moisture ingress from spilt liquids. A routed joint is mechanically tightened from underneath using metal dog-bone bolts, creating an impenetrable barrier when combined with waterproof adhesive.
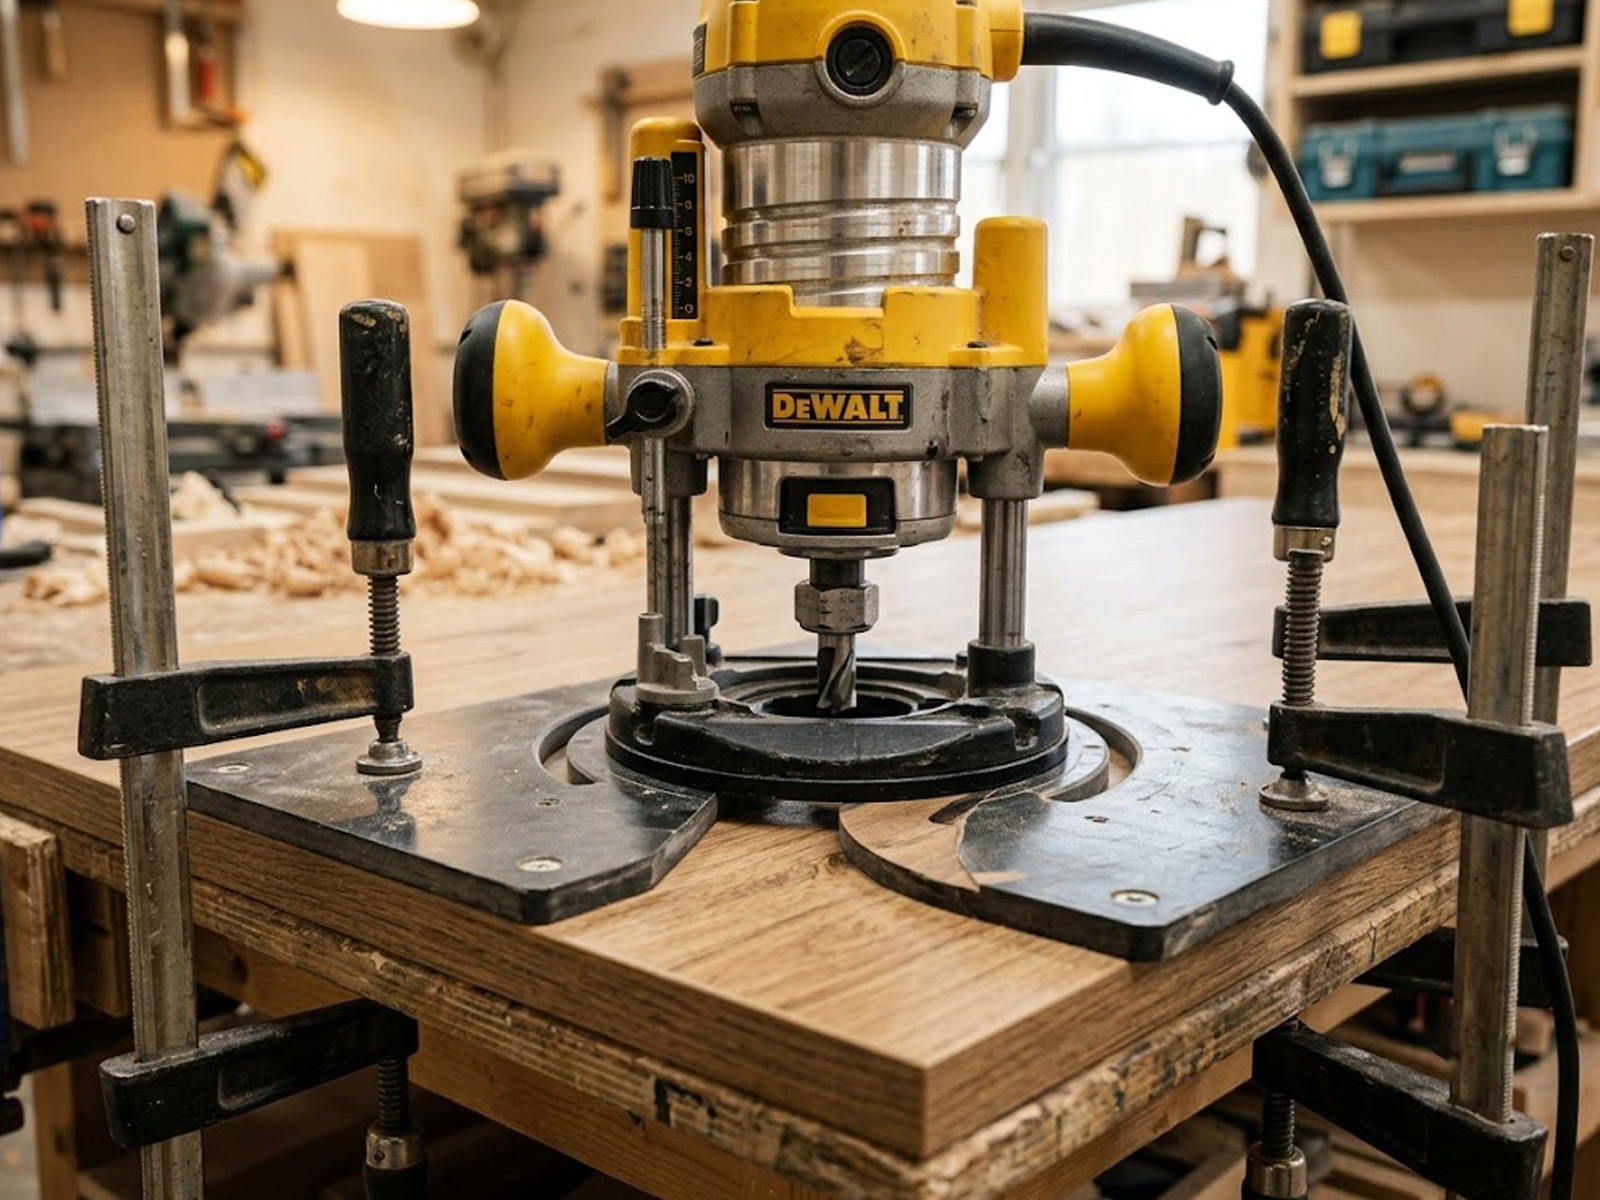
Essential Tools for a Masons Mitre Laminate Worktop
You cannot execute a watertight masons mitre laminate worktop seam using basic hand saws or standard DIY jigsaws, as these tools leave jagged, exposed edges. You must equip yourself with a professional-grade ½-inch plunge router capable of spinning a large cutting bit at exceptionally high speeds without bogging down.
Equally important is the cutting bit itself; you must use a brand-new, razor-sharp tungsten carbide router bit for every new kitchen installation. A dull blade will instantly chip the decorative wear layer and burn the timber core, rendering your expensive slabs completely useless.
If you are intimidated by the industrial tooling required, reviewing a diy laminate worktop fitting guide can help you assess if you possess the necessary carpentry skills. Often, the cost of purchasing these specialist tools outweighs the savings of doing the labour yourself.
The Importance of a Professional Worktop Jig
A heavy-duty phenolic resin worktop jig is the absolute cornerstone of a successful masons mitre laminate worktop installation. This rigid template clamps directly onto your slab, forcing the router collar to follow an exact, mathematically perfect path for both the male and female cuts.
Without this specialised jig, it is physically impossible to freehand the complex curves required to interlock the two boards securely. We rely on industrial CNC machinery in our workshop to pre-cut these joints for our clients, guaranteeing absolute factory-level perfection before the boards even reach your property.
Step-by-Step Masons Mitre Laminate Worktop Preparation
Before you even plug in a router, preparing your kitchen environment is the most critical phase of a masons mitre laminate worktop installation. You must first ensure your masonry walls are relatively square; if they run drastically out of line, you will need to scribe the back edge of the board to fit.
Once scribed, you must measure the exact position of the joint, ensuring it does not land directly above a high-heat appliance like an under-counter oven or dishwasher. Placing a joint over these appliances exposes the seam to intense steam and thermal expansion, which will rapidly degrade the waterproof adhesive.
Levelling Base Cabinets Before Routing
The most catastrophic mistake you can make is attempting to join a masons mitre laminate worktop over unlevel wooden base cabinets. If the supporting units dip by even a single millimetre, tightening the connecting bolts will instantly snap the delicate laminate surface at the corner.
You must meticulously adjust the plastic legs on every single cabinet carcass, using a digital spirit level to ensure a perfectly flat structural footprint. This rigorous preparation guarantees that the immense physical tension required to seal the joint is distributed safely across the entire cabinet frame.
Sealing and Securing the Masons Mitre Laminate Worktop
Once both the male and female profiles are perfectly routed, assembling the masons mitre laminate worktop requires speed and absolute precision. You must thoroughly vacuum the raw chipboard edges to remove all sawdust, as debris will prevent the jointing compound from adhering properly.
Apply a generous, continuous bead of premium colour-matched epoxy or specialised jointing compound along the entire exposed core of both slabs. Bring the two heavy boards together swiftly and insert the mechanical connecting bolts into the pre-routed recesses underneath the surface.
Waterproofing the Chipboard Core
As you tighten the connecting bolts using a spanner, the immense pressure will force the excess colour-matched compound to squeeze out of the top seam. You must immediately wipe this excess away using the specific solvent recommended by the adhesive manufacturer to leave a flush, pristine line.
This rigorous sealing process is the only way to maximise your overall laminate worktop lifespan in a busy, wet kitchen environment. When executed correctly by a skilled professional, this waterproof barrier ensures your composite boards will survive decades of heavy culinary use without swelling.
Comparing Masons Mitre Laminate Worktop Costs and Value
Understanding the true value of a masons mitre laminate worktop requires comparing it against cheaper DIY joining methods and premium stone alternatives. While professional routing adds to your initial labour expenses, it rescues you from the devastating costs of replacing water-damaged boards prematurely.
To help you allocate your renovation budget efficiently, we have compiled a structural comparison of popular joining techniques. For a deeper financial breakdown of material pricing, read our comprehensive guide on the laminate worktop cost UK.
| Joining Method | Aesthetic Quality | Water Resistance | Fabrication Required |
| Masons Mitre Joint | Exceptional (Seamless) | 100% Waterproof | High (Router & Jig needed) |
| Metal Joining Strip | Poor (Raised & Visible) | Very Low (Traps water) | Low (Basic hand saw) |
| Premium Quartz Seam | Outstanding (Invisible) | 100% Waterproof | Industrial CNC machinery |
Health, Safety, and UK Routing Regulations
Operating a heavy-duty plunge router to cut a masons mitre laminate worktop generates highly hazardous fine dust particulates that threaten respiratory health. You must strictly wear a certified P3 respirator mask and safety goggles throughout the entire cutting process to protect your lungs and eyes.
For comprehensive guidance on safe workshop practices and dust extraction requirements, we highly advise consulting the official occupational health regulations on gov.uk. Taking these professional safety standards seriously ensures your home renovation project remains completely safe and ethically compliant.
Securing Expert Masons Mitre Laminate Worktop Fabrication
Achieving a flawless, factory-grade joint shouldn’t require you to purchase hundreds of pounds’ worth of specialised routing equipment for a single kitchen. By partnering directly with Austin Laminate, you gain access to our state-of-the-art CNC workshop and master craftsmen.
Our direct-to-consumer business model completely eliminates expensive high-street retail markups, allowing us to supply precisely pre-mitred boards at incredibly competitive rates. We handle the complex cutting and joint preparation, leaving you or your fitter with a simple, stress-free final assembly.
Stop risking your expensive materials on complicated DIY routing attempts and let our dedicated team deliver millimetre-perfect joints. Submit your kitchen plans today to secure an Instant free quote through our secure online portal, and guarantee a stunning, waterproof finish for your home.