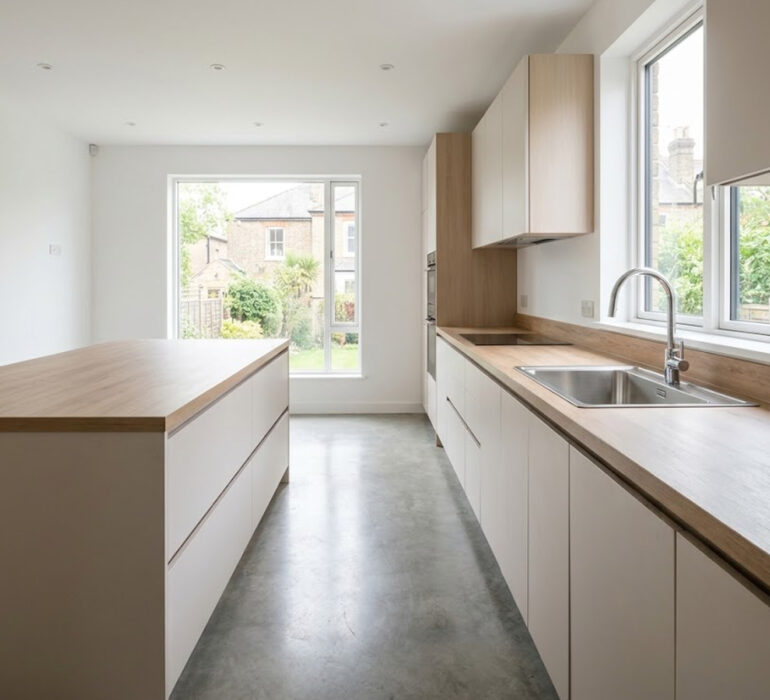
Yes, completing a DIY laminate worktop fitting is entirely possible if you possess strong carpentry skills, but it demands strict millimeter precision to prevent permanent moisture damage.
Skill Level: Requires confident handling of heavy-duty routers and power saws.
Essential Tools: A professional worktop jig and a ½-inch router are non-negotiable for creating seamless mason’s miter joints.
Moisture Risks: Any incorrectly sealed cut edge will rapidly absorb water, causing the internal chipboard core to swell and fail.
Professional Alternative: While DIY saves on labor, hiring experts guarantees flawless joints and eliminates the risk of ruining expensive materials.
Understanding the Reality of DIY Laminate Worktop Fitting
Executing flawless DIY laminate worktop fitting requires far more than simply placing a heavy board onto your kitchen cabinets. As professional installers, we see firsthand the disastrous results when enthusiastic property owners underestimate the structural engineering required for a waterproof finish.
Your success hinges entirely on achieving millimeter precision during the cutting and joining phases, particularly around complex corner layouts. While high-pressure composite surfaces are incredibly durable on top, their exposed chipboard core is highly vulnerable if exposed to any kitchen moisture.
We spend years mastering the exact routing speeds and blade depths necessary to prevent the decorative wear layer from chipping. If you are committed to a DIY laminate worktop fitting, you must be prepared to invest in the correct professional-grade routing tools.
Is DIY Laminate Worktop Fitting Suitable for Beginners?
Attempting a DIY laminate worktop fitting as your very first carpentry project is incredibly risky and generally not advised. A single misplaced cut or poorly routed joint will completely ruin a full-length slab, costing you significantly more in replacement materials.
If your kitchen layout features multiple corners, uneven walls, or complex undermount sink requirements, we highly recommend seeking professional assistance. The technical demands of joining these surfaces securely go far beyond basic DIY measuring and cutting.
Essential Tools Required for DIY Laminate Worktop Fitting
The success of your DIY laminate worktop fitting relies entirely on the quality of the cutting tools you bring to the kitchen. You cannot achieve a watertight, professional-looking joint using a standard handsaw or a basic jigsaw.
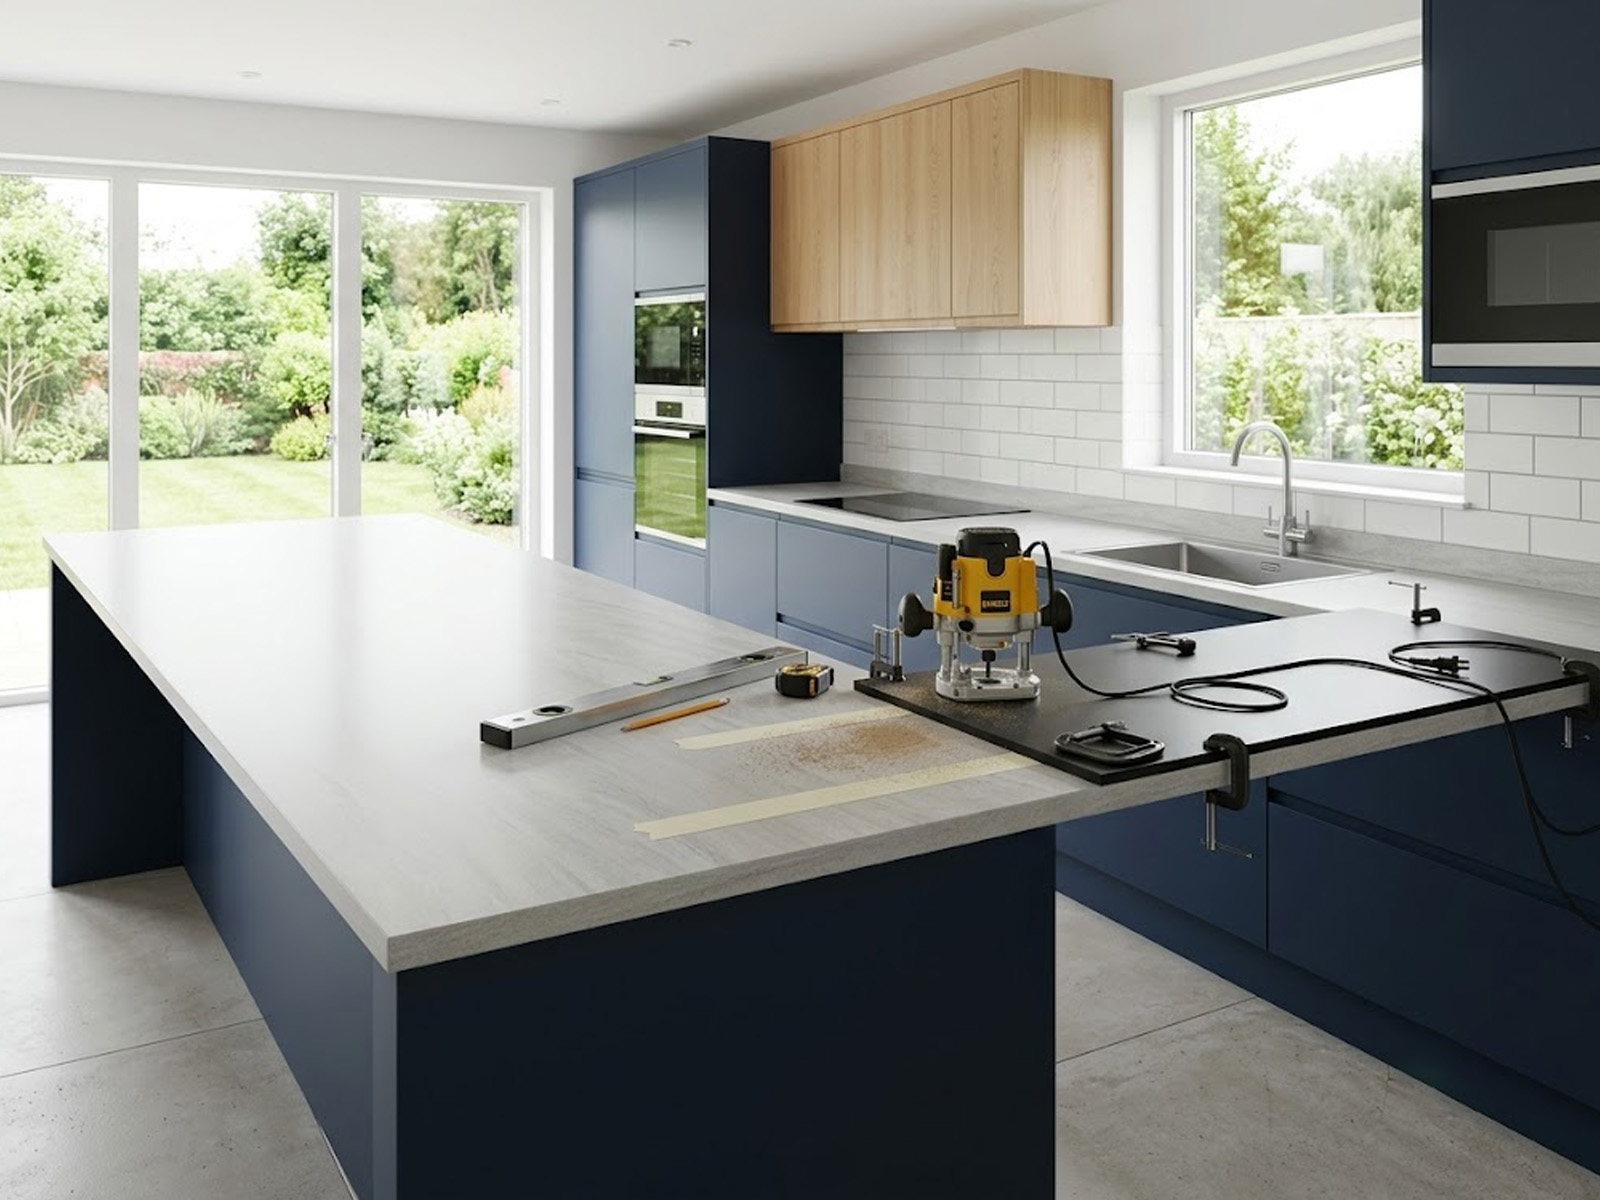
You will strictly need a high-powered ½-inch plunge router, a brand new tungsten carbide router bit, and a heavy-duty worktop jig. Additionally, having a precise digital spirit level, robust G-clamps, and colour-matched jointing compound is absolutely mandatory for a seamless finish.
Why Routing Jigs Matter in DIY Laminate Worktop Fitting
A professional jig is the defining tool in any successful DIY laminate worktop fitting, dictating the accuracy of your mason’s mitre joints. It acts as a rigid template, guiding your plunge router to cut perfectly interlocking male and female joint profiles.
Without this specialized template, it is physically impossible to create the incredibly tight, flush seam required to keep water out of the core. Attempting to join two slabs using cheap metal joining strips often looks unprofessional and significantly reduces the lifespan of your surface.
Step-by-Step DIY Laminate Worktop Fitting Guide
The initial phase of your DIY laminate worktop fitting involves strictly verifying the structural integrity of your supporting cabinetry. You must confirm that your walls are structurally sound and that the layout provides sufficient anchor points for the heavy boards.
Before making a single cut, place the oversized slabs onto the base units to visualize exactly where your joints and appliances will sit. This dry-run strategy allows you to adjust your cut lines, ensuring that your final joints do not sit directly above washing machines or dishwashers.
Preparing Your Cabinets Before DIY Laminate Worktop Fitting
The most catastrophic mistake we witness during DIY laminate worktop fitting is property owners attempting to install boards onto unlevel cabinets. If your base units deviate by even two millimeters, the rigid board will twist, instantly blowing apart your freshly glued corner joints.
Measuring and Cutting Slabs During DIY Laminate Worktop Fitting
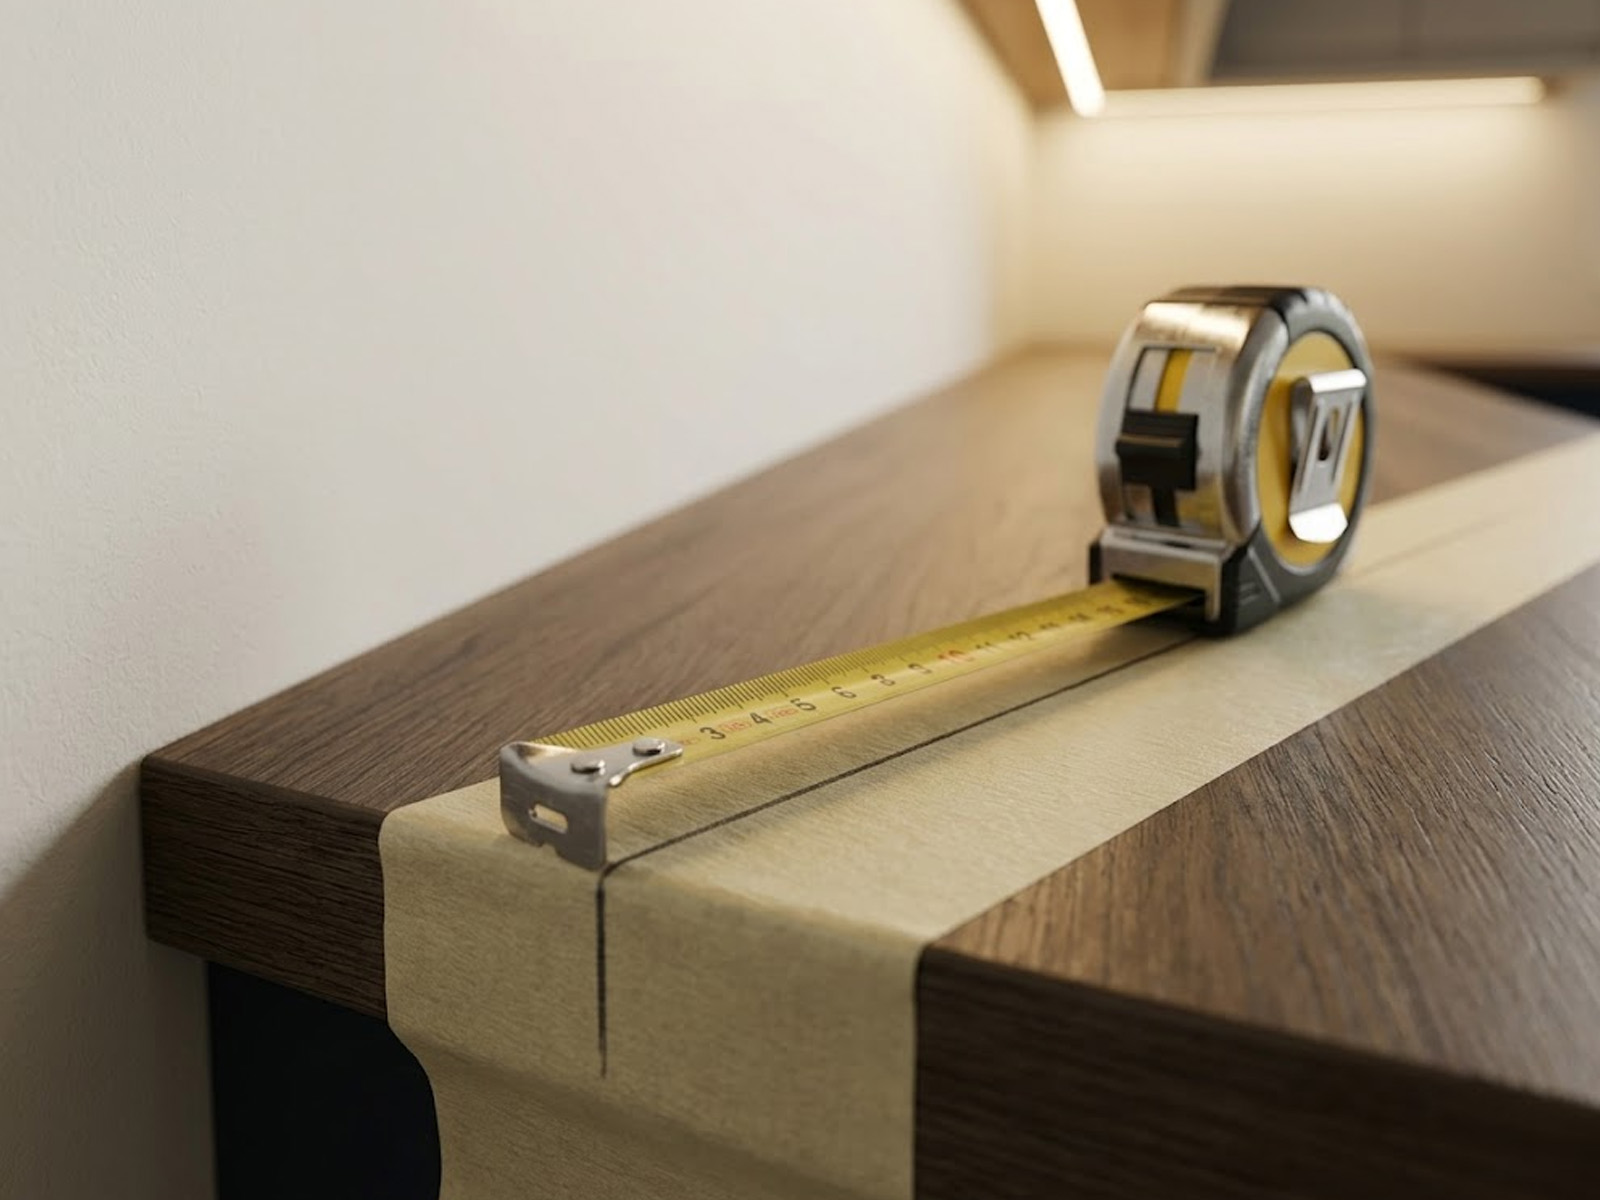
When you reach the cutting stage of your DIY laminate worktop fitting, remember the golden rule: measure three times, cut once. Apply masking tape over your intended cut line before using a circular saw, as this simple trick dramatically reduces the risk of the decorative surface chipping.
Creating Seamless Joints for Your DIY Laminate Worktop Fitting
Creating a waterproof seam is the ultimate test of your DIY laminate worktop fitting skills and requires immense patience. Once your male and female cuts are precisely routed, apply a generous bead of color-matched jointing compound along the entire exposed core.
Bring the two slabs together quickly and tighten them from underneath using specialized mechanical worktop connecting bolts. As you tighten the bolts, the excess sealant will squeeze out of the top; wipe this away immediately to leave a perfectly flush, nearly invisible seam.
Common Mistakes Seen in DIY Laminate Worktop Fitting
Rushing the measuring phase is the fastest way to ruin a DIY laminate worktop fitting, leading to costly material replacements. We frequently replace DIY installations where the homeowner failed to leave a sufficient expansion gap against the masonry walls.
If the board is wedged tightly against the brickwork, the natural expansion of the timber core during seasonal humidity changes will buckle the surface. Always leave a strict 3mm to 5mm expansion gap around the perimeter, which you can easily hide later with matching upstands or tiles.
Poor Sink Choices in DIY Laminate Worktop Fitting
Selecting the wrong basin type is a disastrous error frequently made during a DIY laminate worktop fitting project. You must strictly avoid undermount sinks, as the exposed chipboard core around the rim cannot withstand constant exposure to sitting water.
Always opt for a high-quality drop-in sink with a wide, robust stainless steel lip that sits securely on top of the decorative surface. You must apply a thick, continuous bead of waterproof silicone beneath this lip to ensure moisture never reaches the vulnerable core material.
Cost Savings: Professional vs DIY Laminate Worktop Fitting
Calculating the true value of your DIY laminate worktop fitting requires looking beyond the raw material price tags. While installing the surfaces yourself eliminates professional labour charges, you must factor in the cost of hiring specialised routing jigs and heavy-duty power tools.
If you malaboratastrophic cutting error, purchasing a replacemspecializedll instantly wipe out any financial savings you initially anticipated. Sometimes, relying on the guaranteed precision of a master stonemason or dedicated installer is the smartest long-term financial decision.
| Installation Method | Average Tool Hire Cost | Labour Fees | Risk of Material Ruin | Expected Joint Quality |
| DIY Installation | £80 – £150 | £0 | High | Variable (Depends on skill) |
| Professional Fitting | £0 | £150 – £400 | Zero (Insured) | Exceptional (Seamless) |
Calculating Your Total DIY Laminate Worktop Fitting Expenses
To accurately benchmark your DIY laminate worktop fitting budget, you must research the baseline material costs in your specific region. For a transparent breakdown of typical material prices, review our dedicated guide covering the laminate worktop cost UK.
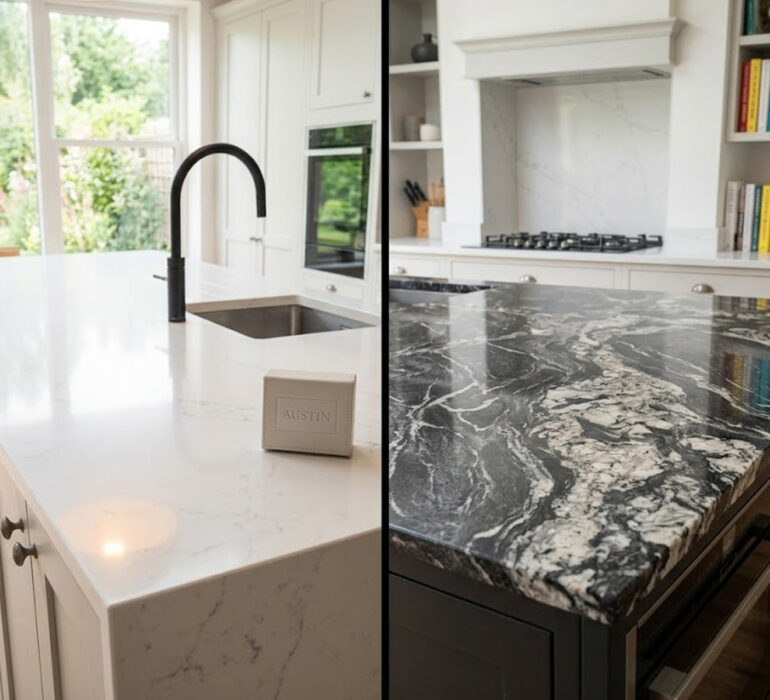
If you realize that purchasing the required tools makes the DIY route too expensive, it may be time to consider premium alternatives. Exploring quartz vs granite worktops can open your eyes to materials that offer lifetime durability and absolute water resistance.
Workplace Safety During a DIY Laminate Worktop Fitting
Prioritising your physical health is absolutely paramount during any DIY laminate worktop fitting procedure inside your home. Plunge routers operate at terrifying speeds, and losing control of the machine can result in severe, life-altering injuries within a fraction of a second.
Furthermore, cutting composite timber boards generates highly hazardous fine dust particulates that can severely damage your respiratory system. You must wear a high-quality, certified particulate respirator mask and safety goggles throughout the entire cutting and routing process.
For guidance on safe workshop practices and dust extraction requirements, we highly recommend consulting the official guidelines on gov.uk. Taking these professional safety standards seriously ensures your home renovation project does not compromise your personal well-being.
Why Direct Fabrication Improves DIY Laminate Worktop Fitting Results
Securing the best raw materials for your DIY laminate worktop fitting means bypassing high-street showrooms and their inflated retail margins. By sourcing your slabs directly from a dedicated supplier, you guarantee superior material quality and a much fairer price point.
At Austin Laminate, we offer a stunning range of high-pressure composite surfaces designed for modern, demanding British kitchens. Whether you plan to fit them yourself or utilize our professional teams, we provide materials engineered for ultimate longevity and style.
If you are intimidated by the precision routing required, our in-house fabrication team can supply boards pre-cut to your exact dimensions. This hybrid approach removes the stress of cutting joints yourself while still saving you money on the final on-site installation labor.
Book Your Precision Estimate Today
Stop struggling with complicated cutting calculations and let our seasoned experts assist you with your upcoming kitchen renovation. Our team is ready to guide you through texture selections, matching upstands, and custom edge profiling techniques.
Explore our extensive catalog of premium Laminate worktops to find the perfect aesthetic match for your bespoke cabinetry. We guarantee a flawless finish that dramatically elevates the visual appeal and functionality of your property.
Submit your kitchen plans today to lock in a highly competitive, transparent quotation without any hidden fees. Request your Instant free quote through our secure online portal and take the stress out of your kitchen upgrade today.